Painting Our Master Bedroom: Updated
I’m not actually finished painting the master bedroom yet. And yes, it’s been three months already. Thanks for noticing. We’ve had a lot going on around here. I”ve been lacking motivation. If you’ve painted before, then you are well aware that painting is only fun for the first 30 minutes. (And I used up all of that 30 minutes and more just painting sample swatches.) So yeah, the going’s been slow.
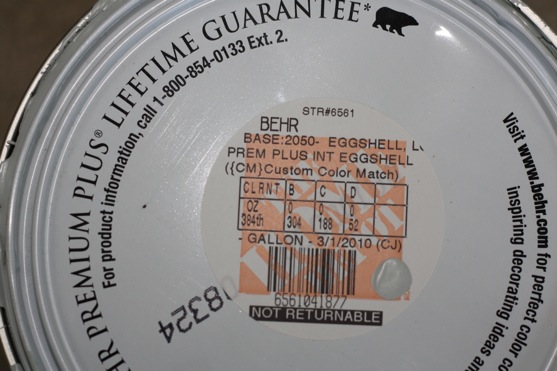
I spent forever selecting a color. I tried about 20 color samples (no kidding!), and didn’t like ANY of them. (Remind me to show you my vast collection of paint samples sometime.) Out of desperation, I start mixing colors myself: I like this blue okay, but it needs more gray. Or, what would happen if I mixed this blue with this beige-y gray color? And finally, at long last, I created the perfect blue-gray I’ve been dreaming of. I took it to Home Depot, and had it color matched. It was my first time getting paint color-matched, but I am 100% satisfied. Also, very proud of myself for creating my own paint color!
Here’s a close-up of the lid if you’re interested in the color:

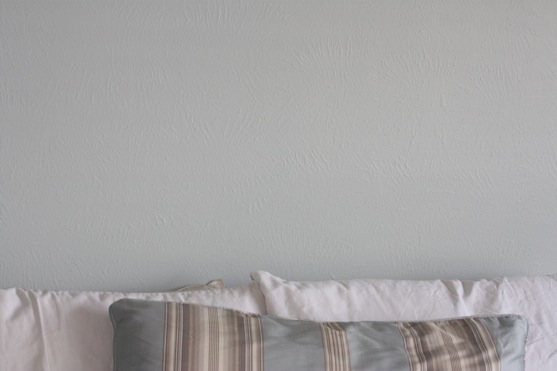
And here’s a little sneak peek at the walls
Daytime…

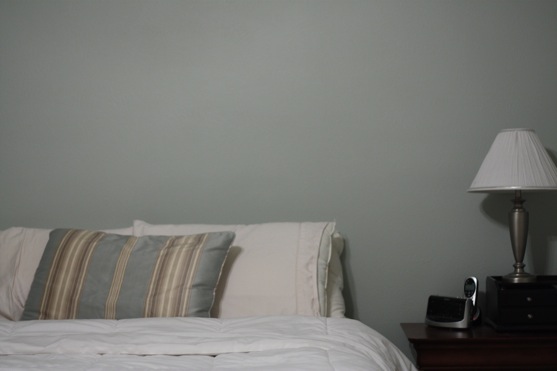
And at night (because the light really changes the colors of paint, don’t you think?)

So what do you think of the color?
Just as I was getting started on this painting project I read about a neat little tool that helps create straight edges, eliminating the need for painters tape. No painters tape?! Count me IN! In the last 3 years, I painted the entire downstairs (some rooms more than once), the playroom, The Littlest Apple’s room, and The Littlest Apple’s bathroom, all by myself. Each time using rolls and rolls of blue painter’s tape. Sometimes in desperation, I would attempt to freehand the ceiling or around doors and windows. Even with a fairly steady hand, I was never able to recreate the nice crisp straight line you get with painter’s tape (assuming you apply it properly, a whole ‘nother story). To add to my paint tape frustration, The Littlest Apple can’t seem to keep his hands off of it. To him, it just screams, “PULL ME!!”
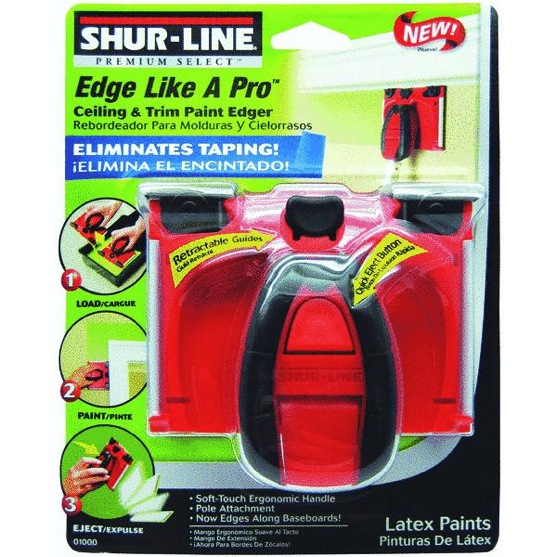
Enter the Shurline Edge Like a Pro Paint Edger. Have you seen this? Have you tried this? If not, you should!

I picked mine up at Home Depot for around $6.  I’ll never use painter’s tape again!! (Ok, I might, but very rarely). This little tool is 1000 times easier than dealing with painter’s tape. I’ll admit, it’s not completely fool proof. There’s a bit of finesse involved in the technique. You can’t use too much paint, and you have to remember to flip up the retractable guides before you dip it in the paint. But once you get the hang of it, it works great!
I’m hoping to work on (maybe even finish!!) painting tomorrow.
As much as I’d love to go out and buy a whole bunch of stuff for this room once I’m done painting, it’s going to be a gradual (read: slow) process. You know, budgets. Extra medical expenses. Not much extra money for home decor.
We don’t have a headboard. How very collegiate of us, don’t you think? I’m trying to convince The Picky Apple to build one. But since I also want him to build a new toddler bed for The Littlest Apple and a new bookshelf, who knows when it will actually happen.
I’m hoping to get new bedding sometime soon, but I’ll probably have to wait for my birthday in July. For now, we’re making do with our white duvet, uncovered, and ivory sheets.
As soon as I’m done painting, I’ll hang some inexpensive white curtains until I pick a patterned fabric. I’d also like to get a large shelving unit (maybe Expedit?) for a huge empty wall.
A big comfy chair, a side table for said chair, mirrors, new lamps, a new light fixture, wall decor, maybe a rug? I’ve got a long wish list for this room.
For now I’m just happy with my new paint color.


I love the paint color! We used those edge liners when we painted our living room and entryway; I loved it too. Not too hard to master, and saves so much time when you don’t have to tape! And don’t feel bad, we don’t have a headboard either. I think when I get around to it, I’m going to look for a free one somewhere that is in decent shape and either refinish or recover it. I see so many online that look amazing at such a low cost!
What a great color! It’s beautiful!
That’s the color I envision for my room when I close my eyes!!! great job!
I bought one of those fancy edgers, too, but I haven’t had the chance to use it yet. Glad to hear it works! I am going to have to get all your little tips for using before I start my next painting project.
Great paint job, Cara! And, the color is a perfect blue-grey…agree! 🙂
Have fun picking out bedding and the rest of your room decor too. Our home design team likes to “break the rules” in home decorating and mix and match things in unexpected ways. Perhaps they might inspire you…www.kmartdesign.com/category/home_design/
Happy decorating!
 Smooth – I like it. Kind of calming and relaxing. Always good to paint a test patch before diving in and painting the whole room eh?