Halloween Ribbon Wreath
This is my favorite craft to date. And yes, I think I said that about the last wreath I made. But I had SO MUCH fun working on this wreath (well, except for the spray adhesive on my hand…more on that momentarily). This was tedious and time consuming, but what a labor of love! I enjoyed every single second of this project.

I don’t normally decorate for Halloween. I’ve got my Fall decorations-my pumpkins and apples and leaves-but I’m just not into Halloween. Unlike most of our neighbors, who go ALL OUT for Halloween (with realistic things hanging in the trees, inflatables, tombstones, and a haunted house for the trick-or-treaters), I don’t like all the scary, creepy, ghoulish decorating, and I don’t really like dressing up either. But when I saw the Happy Halloween Wreath that Jen from Tatertots and Jello (my craft-making hero!) made, I decided that maybe there was a way to decorate for Halloween in a happy, cute, fun way after all! I owe Jen a million thanks for her amazing wreath idea and great photo tutorial. I never would have thought of this on my own! So this is my spin on a Happy Halloween Wreath.
I started by wrapping a 12″ foam wreath in wide ribbon (I used black), pinning it at first, and gluing it down as I went. Do you really need to see what this step looks like? Okay, here you go…

Now, let the ribbon cutting begin! You’re going to need lots and LOTS and LOTS of ribbon. I ran out of ribbon twice and had to go back for more. HOW much should you buy? Well, it depends. (I know…so helpful!). It depends on how thick you bunch the ribbons together, and it depends on whether or not you plan to completely cover the inside and outside of the wreath (instead of just the front). I completely covered the outside of my wreath, so I needed a small truckload of ribbon. I used at least 138 feet of ribbon. Then I lost track. Here are my ribbon tips:
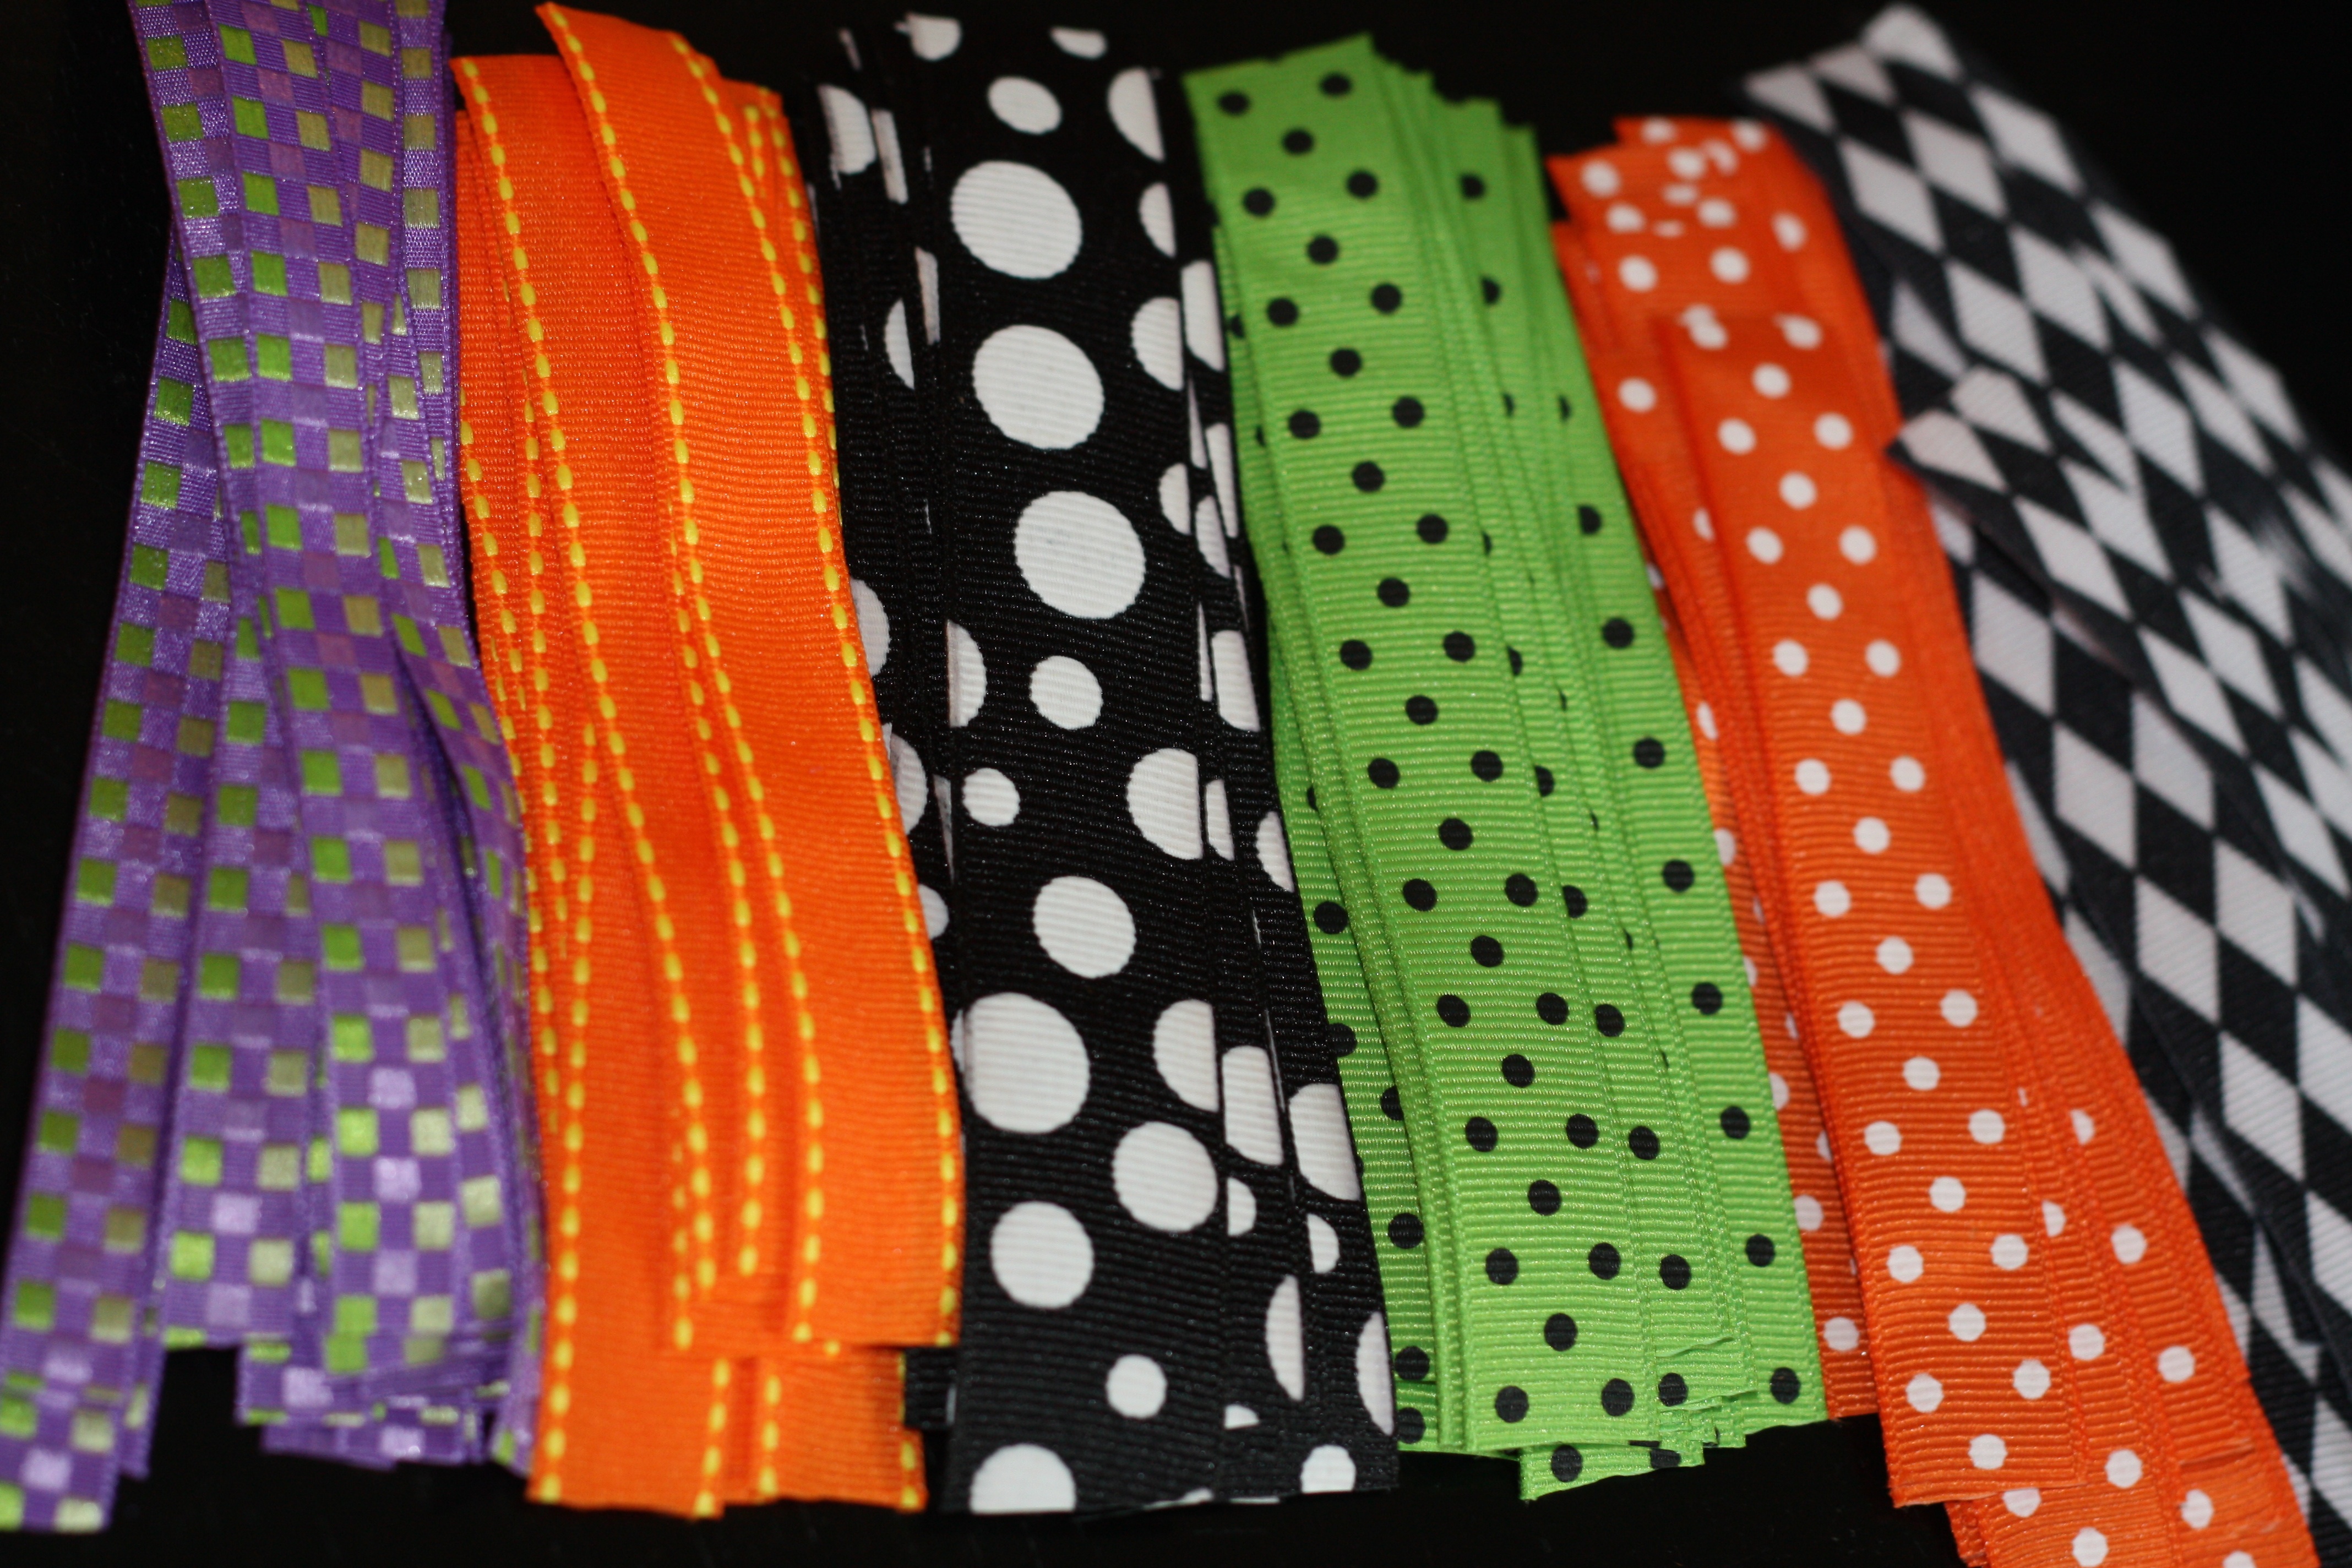
- stick to a fairly tight color scheme. mine was black, orange, purple lime green, and white
- use varying widths of ribbon. I wish I had used more wide ribbon.
- Select 10-15 different ribbons. I used 12, partly because when I ran out the first time, I could no longer locate the ribbons I picked the first time. I had to mix in new patterns (and yes, my non-flexible self had to do some deep breathing when I first realized this). But I LOVE the interest my 12 different ribbons add.
- avoid sheer ribbon unless you enjoy getting hot glue all over your fingers. Lesson learned.
Here is my ribbon “line-up,” minus one. This was definitely a handy piece of paper to have when I had to run back to buy more ribbon. I was clearly drawn to polka dots. Guess what? Polka dots make me happy. So does that harlequin pattern.

Cut the ribbon into 4.5 inch strips. I measured one every few minutes to use as a guide strip, but for the most part, I eyeballed it. Mine probably range from 4 -6 inches. But that’s okay. We’ll call that “adding visual interest” instead of being sloppy, ok?

Now it’s time to create loops with the ribbon, leaving a little room (approx 1/4″) at the bottom, beneath the “seam.” You can either sew these, as Jen from Tatertots and Jello did, or if you don’t have a sewing machine, you can hot glue them like I did. I worked with 3 to 4 strips of ribbon at a time…that’s how fast I could glue then fold them down before the hot glue dried. I just threw all of my loops in a big box as I went.

Think you’ve got enough? You probably don’t. Make MORE!
Time to start gluing your ribbon loops to the wreath form. I worked on the front/top of the wreath first. You need to separate the part of the ribbon below the “seam” you created. That’s what you’ll be gluing down. See what I mean in this not-so-great-photo below?

Just keep adding more loops to your wreath, placing them at random angles. Shove them together as close as you can so your wreath will look nice and full.
Once you have the top of the wreath filled in, it’s time to work on the sides! I was struggling with my method for the sides until The Picky Apple stepped in with his genius suggestion to layer the ribbons on the side, so the top of the loops are all still facing the front of the wreath (instead of poking off to the sides…). Either way could work, but this is what I did. See how they are all facing up toward the top of the wreath?

Yay! What a beautiful ribbon wreath! You could totally stop here. (And I’ll admit that if I hadn’t already purchased my letters, I might have.)
But let’s add some pizazz! Jen from Tatertots and Jello added a glittery “31” to hers, and I opted to add “BOO” to mine. I have not yet mastered the art of applying glitter to things. For my first coat, I used Mod Podge (which I pronounce and read as Modge Podge). Once that dried, I wanted MORE glitter, so I added a coat of spray adhesive and more glitter. Spray adhesive is wonderful, and did the trick. But don’t get it on your hands….it doesn’t come off easily. And if you’re playing with glitter too, then you’ll wind up like this…

(Those are my hands, not The Littlest Apple’s. Remember how I said I had small hands?) Now, how to get those letters stuck on the wreath? Jen from Tatertots and Jello used some large wooden beads. I bought some, but mine weren’t quite big enough. Since I was getting antsy to just be finished, I got creative and shopped the house for a solution.
I covered some of The Littlest Apple’s blocks in ribbon, like this…

Then I hot glued the blocks to the wreath, then glued the glittery letters to the blocks. I was going for an off-centered look, but that “O” on the right looks like he’s saying “Help! I’m falling off the wreath!” He’s not. He’s glued on very securely. Just a little crooked.

I LOVE my new wreath! I’m already thinking about making another ribbon wreath for Christmas or Easter (or both!). The possibilities and color combos for this type of wreath are ENDLESS!

I’m sharing this post with…


I bought my ribbon at Michael’s and Hobby Lobby. Â The wreath form and letters are from Hobby Lobby, and the blocks I stole from my 4 year old son. Â Hope that helps!
Congrats on completing your first ribbon wreath! Â They are so much fun. Â I think a Christmas one would be really pretty.
Thanks for the shoutout!
You’re right, Amber. Â It definitely added up, but I didn’t really tally up the total. (I wish I had!) Â Catching the ribbon on sale or using coupons would certainly help. In the post I mention that I used at least 138 feet of ribbon and then lost track. Â How much ribbon will depend on the ribbon thickness and how close together you place the ribbon loops. Â
Thanks for the shout out!
Jenna,Â
I used a hot glue gun for mine, and it was super easy!
I agree that sometimes sticking with just a few patterns is a good thing. Â Thanks for all of your suggestions!
Hi! I featured this great wreath on Fun Friday Finds today. I hope you can stop by
http://www.itsybitsypaperblog.com
Hey Cara! Thanks for your comment on my blog about our Girls Craft Night! (http://sarahg816.blogspot.com/2011/09/girls-craft-night.html)Â
I just got final pictures of several of the girl’s wreaths so I just added those to the post. Everyone’s look so awesome!Thanks again for stopping by and thanks for the great inspiration!! 🙂
Hey Cara! Thanks for leaving a comment on my blog about our Girls Night Out!! I just got final pictures of most of the girls’ wreaths and added them to the post – they look really great!! http://sarahg816.blogspot.com/2011/09/girls-craft-night.html
Thanks again for stopping by and thank you for the wonderful inspiration!!
Sarah,
I posted a link to your blog post on The Picky Apple’s Facebook page earlier today. Â I thought it was so neat that you used my project for your Girls Craft Night! Â Now I’m off to checkout the final pictures of all the wreaths. Â Thanks for the update!
Amazing wreath! I did the same when I saw the ribbon on tatertots & jello… Lesson learned here as well with the sheer ribbon. Ouch. I have no finger prints from that experience.
What’d you use/do to hang it?
I LOVE this and hopefully will be trying it out for Christmas this year. I have a question. What kind of letters are they (wooden, etc)
I just use a cheapo metal wreath hanger that goes over the top of the door. Â I’d love to use a big ribbon next year though.
The letters are wooden letters from Hobby Lobby. Â
I used the round 12in wreath and saw the one you have where the surface is flat rather than round but didn’t think it would look good. So I bought the only round one Michael’s had left in stock. Now I wish I would have got the flat ones, yours came out looking nice and they have plenty of those ones in stock. Thanks for sharing, came out super cute!
This is beautiful! Â I saw it on Pinterest. Â I am making one as a gift. Â Thank you for sharing your instructions! Â So many people make these, but they like to keep the how-to info a secret. Â I appreciate it!
IÂ made my ribbon wreath in September for Christmas. Lime, silver and hot pink colour scheme and it looks fab!
Now my grade 2 students have each brought in a roll of ribbon of their choice and we will make a class one to hang on our classroom door for the month of December. Each student will be represented through the ribbon that they brought to complete our wreath.
Thanks for the terrific idea
can you please explain to me what you did to place the ribbons on the side of the wreath because i am having trouble figuring out what i should do.
Love the commentary. love the Idea Thanks.
SO I’M THINKING YOU COULD USE STRAIGHT PINS WITH THE BIG PLASTIC HEADS ON THEM TO PUSH THROUGH YOUR RIBBON LOOPS AND THEN PUSH THEM INTO THE STYROFOAM INSTEAD OF USING HOT GLUE!!!
Barbara,
You could definitely use straight pins. Â Just make sure you have LOTS of them because I used LOTS of loops. Â
LOL about the sheer ribbon “if you love getting hot glue all over your fingers.” Â I got my work wreath material from here and had a blast making it. Â Thanks for inspiring me to get crafty this season 🙂
http://www.partytimebr.net/party/partysupplies_subinv.asp?CatagoryCode=13Â
(Work Wreaths)
I totally used this tutorial to make a beautiful Christmas ribbon wreath, and I got so many compliments, this is now Feb’s Crafty Weekend!! I’m currently in the process of a Valentine’s wreath, and for Crafty Weekend, a Halloween wreath! Thank you for the great walkthru!!Â
Thank you so much for this, I love making crafts and this wreath is absolutely gorgeous and what makes it even cooler you made it yourself. I was in great need of figuring out how exactly to make my ribbon wreaths and this was a great help.Â
Perfect tutorial.. just what I have been searching for!! Thank you!!
The other thing I saw that I wanted to share that was a good idea, was for the letters…glue bobby pins to the back then pin them and glue them in place!
oh how i thank u for showing me ur secrets to making a wreath!! urs is the first of like a million i have looked at lol so i def can make my alabama wreath before game time:)) thank you so much:))
I made a Valentine’s wreath a few years ago. It’s red and white…my favorite ribbon is the red sparkly! I love it but it was very time consuming! I didn’t glue mine, but instead pinned it with tiny little stick pins! I also made one for my grandmother-in-law…her’s is blue and white.
Wow! This is a GREAT looking wreath! Looks so professional! I know you are very proud of yourself! You did AWESOME!
Working on my black/white hot pink wreath as we speak. Thanks for the awesome idea!
Yay for Pinterest or I never would have found this awesome idea or your lovely blog. I am gonna make a BOO wreath now as well. I love your ribbon choices. I wonder how long you spent on this. But great thing to do while getting caught up on all the new fall tv shows. Can’t wait to see what other goodies are in your blog. Now following you on bloglovin.
How do you finish off the inner and outer edges of the wreath (do you a picture of the back of the wreath)? Hot glue is messy and the ends of the base of the ribbon look messy and unfinished around the outside and inside edges. I want a nice clean look.