Thankful Banner
I went to Hobby Lobby this morning armed with ideas and a supply list for several last minute Thanksgiving crafts (and a cranky 4 year old in tow-I don’t recommend that). Â Let’s face it, two days before Thanksgiving…most crafters have moved on to Christmas. Â But I couldn’t let Thanksgiving pass by without completing at least one craft!
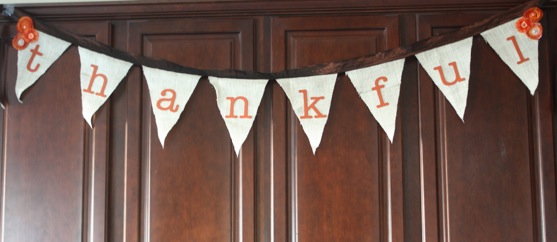
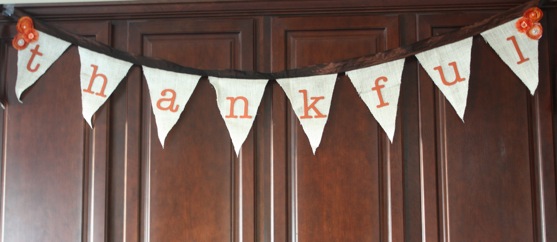
Behold, my Thankful Banner!
Completed during nap time this afternoon. Â And I am so thankful that today was a nap day. Â Naps are mostly a thing of the past here, but it was a good day indeed.
This was a super easy, super satisfying project.
Here are the supplies I used:
- 4″ chipboard/cardboard letters-I haven’t jumped on the Cricut/Silhouette bandwagon yet, and this was so much easier than stenciling them all by hand!
- Acrylic paint for painting the chipboard letters- I used Americana Brand in Burnt Orange
- Burlap- I wound up using about 1/2 a yard. Â As I mentioned on Facebook, burlap was in short supply today at Hobby Lobby. Â I wound up with the last yard of Oyster burlap (an offwhite color) instead of the natural color I intended, but I think I love my banner even more with the Oyster burlap!
- 3 yards of 1 1/2 inch brown wired ribbon
- 2 packages of orange flower embellishments-I found these beauties by the scrapbook/card supplies, but you could easily make your own out of fabric or felt. Â If you know how to do that sort of thing. Â Which I don’t….yet.
- Hot glue gun-no sewing involved here!!
How I made the banner:
- First I painted the chipboard letters with my burnt orange paint.
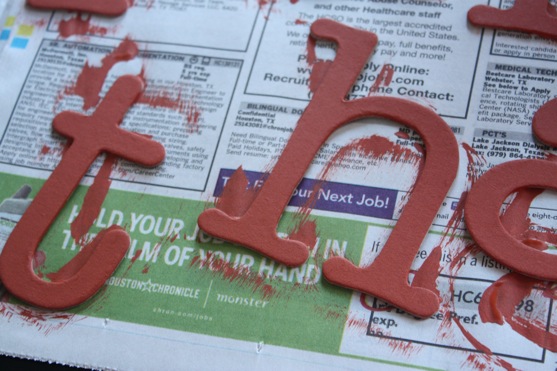 2. Â I created a template out of cardstock for the triangle size I wanted for the banner. Â Note: be sure to use your widest letter for this (mine was “k”) so you have enough room!
3. Â Trace your template on the burlap (I used a fine tip sharpie) and cut out the triangle. Â Repeat 8 times. Â Cutting burlap is messy business, by the way. Â I’m still covered in it.
4. Â Once your chipboard letters are dry (and mine were dry by the time I finished cutting the burlap), hot glue the letters to the triangles. Â I used an index card (so precise, I know!) to make sure all my letters were the same distance from the bottom point of the triangles.
5. Â Then I glued the ribbon across the top. Â (I laid it all out first to make sure I had enough ribbon on both ends).
6. Â Last of all, I glued on the orange flower embellishments. Â I may add some additional embellishments next year, but for this year, I’m happy with the beautiful simplicity of my banner!
One teensy problem. Â I had envisioned this banner being hung across my mantle, but it is a bit too long for that. Â So I’m still playing around with where I want to display it…
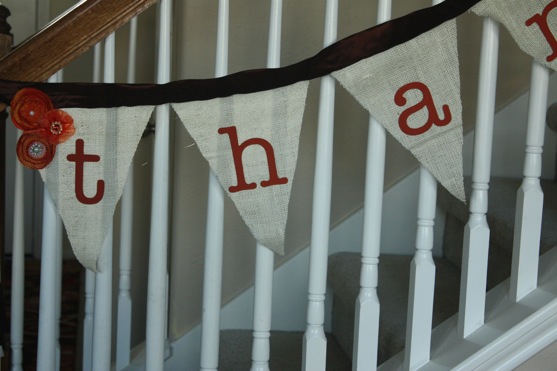
The stairs?
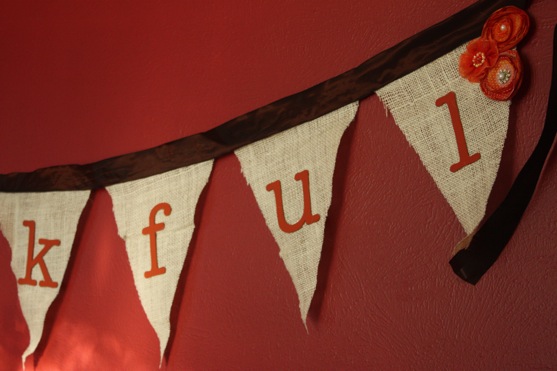
The dining room with the red walls?
The kitchen cabinets?
I love my Thankful banner no matter where I decide to place it! Â (And you’ll note that I’m no banner-hanging-expert…I used Scotch tape for these pics until I can get my handy husband to hang it up properly)
Hoping I have time to squeeze in one more kiddie Thanksgiving craft tomorrow….

Your banner looks great! Very pretty!
Its really looking beautiful.Thanks for this post.
Beautiful idea. 🙂 By the way I think it looked gorgeous hung on your red dining room wall….well that’sjust me. Where did you end up putting it up permanently?