Painted Curtains
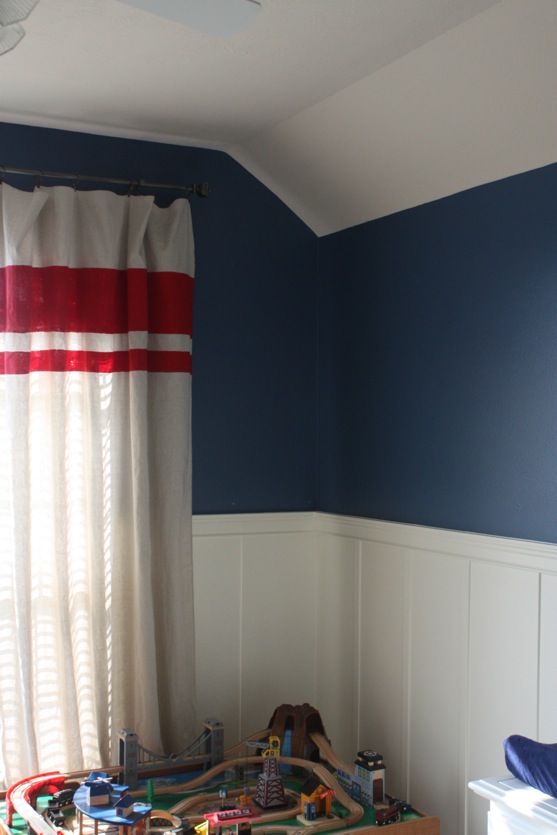
When we were deciding how to decorate Slingshot’s nursery, I didn’t have a clear vision for the curtains. Â After we got the board and batten up and the walls painted, I knew we needed something to break up all that blue and white. Â I wasn’t too pleased with any ready-made curtain options, so i decided to make my own. Â I immediately thought of the dropcloth curtains we have in our bedroom, but I also wanted to incorporate some color! Â Since several of the accessories (sheets, rug, etc) have red, I decided to try my hand at painting some red stripes on the dropcloth curtains.
The dropcloths I purchased were exactly the right size for the room…no hemming necessary! Â Woo hoo! Â Note: Don’t forget to wash and dry your curtains before you get started. Â They WILL shrink.
I set up my painting station in the front entryway (it was too cold to be in the garage). Â I put down cardboard, then 2 layers of old dropcloths underneath my curtain-drop cloths to absorb any paint that might soak through.
To paint dropcloth curtains, I mixed acrylic paint with textile medium. Â I think you could probably just skip this step and use the acrylic paint straight, but using textile medium makes them more color safe for washing.
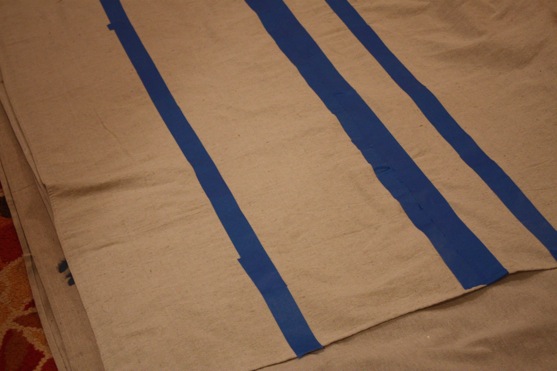
Next, I taped off the stripe pattern with painter’s tape. Â We just wanted a few bold stripes up near the top. Â Taping off stripes are always tricky because your eyes play tricks on you with the thickness of the tape lines. Â Make sure you press down the edges of the tape as firmly as possible to keep the paint from bleeding.
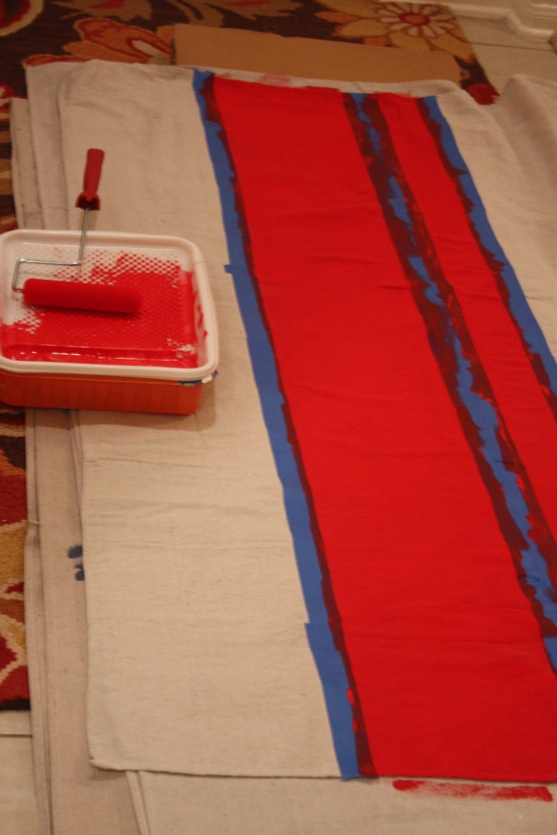
Then it was time to paint! Â I used a foam roller brush. Â The dropcloth fabric soaks up paint big time, so it took way more paint than I was expecting. Â Also, because of the nubby, irregular nature of the dropcloth fabric, there will be places that just won’t absorb the paint at all. Â We actually liked this more “weathered” appearance to the stripes, but if you don’t want that, you may need to pick a different fabric!
This photo was taken at night, so the color is a little off, but we were certainly panicking at this point, thinking that the stripes looked hot pink, and not the deep, tomato red we were hoping for….I actually went to bed after this, thinking that I would need to go buy a different color of paint the following morning.
But, when we woke up the next day and removed the blue tape (which also made it hard to see the “true” color), we were pleased with the way the curtains looked, and left them as is! Â No second coat of paint, no different color needed!
At some point, I may add blackout fabric to line the curtains, but they work for now!
Have you ever painted curtains or other fabric before?
I’m sharing this post with…


Neat!! Love it.