Glitter Trees
Like most of you, my Christmas decorations are always evolving, a perpetual work in progress. Unless you have an interior decorator and/or put aside a hefty chunk of change for Christmas decorations, you don’t just move to a house and instantly Deck the Halls throughout your home with catalog-worthy Christmas sparkle in every nook and cranny.
This will be our fourth Christmas in our home, and we’re still slowly building our collection of Christmas decor. Two years ago I got the monogrammed stockings and tree skirt that I’ve always wanted. Last year, I doubled our ornament collection for the tree. So far, all of my Christmas decor has been store bought, but this year I wanted to try some crafty projects of my own.
First up is our mantle/mantel. When we had the house built, The Picky Apple and I argued over whether or not to get a fireplace. I won that battle. We rarely use our fireplace, but I just couldn’t imagine Christmas without stockings hung on the mantle! (I’m sure The Picky Apple would insert a comment here about the fireplace being a VERY expensive Christmas decoration….)
Given how important the mantle is to Christmas decor (second only to our Christmas tree), our mantle still needs a bit more Christmas magic. We’ve got the basic garland and our stockings, and that’s about it. I used to have a Nutcracker collection up there, but I’ve moved on to other things. Sparklier things. Something red and silver and sparkly would be just perfect!
Glitter Trees to the rescue!
Phase 1 of Mantle Makeover: Glitter Trees
I saw this idea on eighteen25, and these were super easy to make. I had the glitter and spray adhesive on hand (quite literally, as you’ll see in a minute), so my total cost for this project was less than $15 (for the cones and candlesticks). I’ve seen similar Glitter Trees in home decor stores for MUCH more than that!
Here’s what you’ll need:
- foam cones in differing sizes
- glitter
- spray adhesive
- candle sticks
- hot glue or other strong glue to glue cones to candlesticks
First, you’ll need to cover your work area with newspaper. Spray the entire cone (all but the bottom) with your spray adhesive.
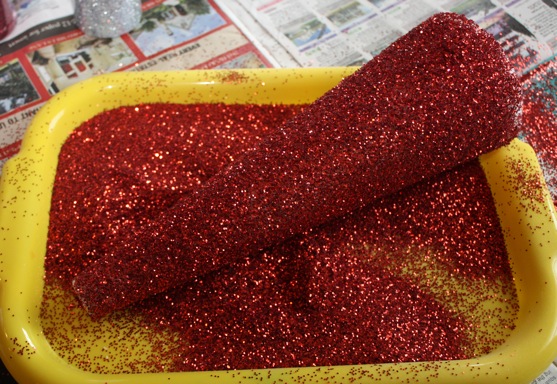
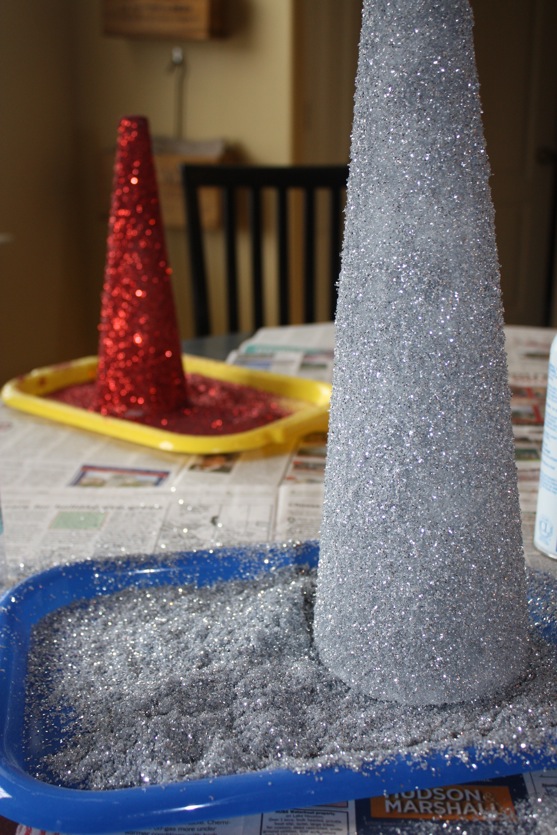
Working quickly, pour glitter over the cone, turning to coat the entire cone. Just like last time I played with glitter and spray adhesive, I once again managed to coat my hands in spray adhesive and glitter. Multiple times. What a mess. But so worth it.
Let the entire cone dry before tapping off excess glitter. Doesn’t that silver glitter below look fluffy?
Add more spray and glitter as desired, but I only needed one coat.
Once spray adhesive on cones has dried completely, use hot glue or other strong glue to attach glitter tree to the candlestick. That’s all there is to it!
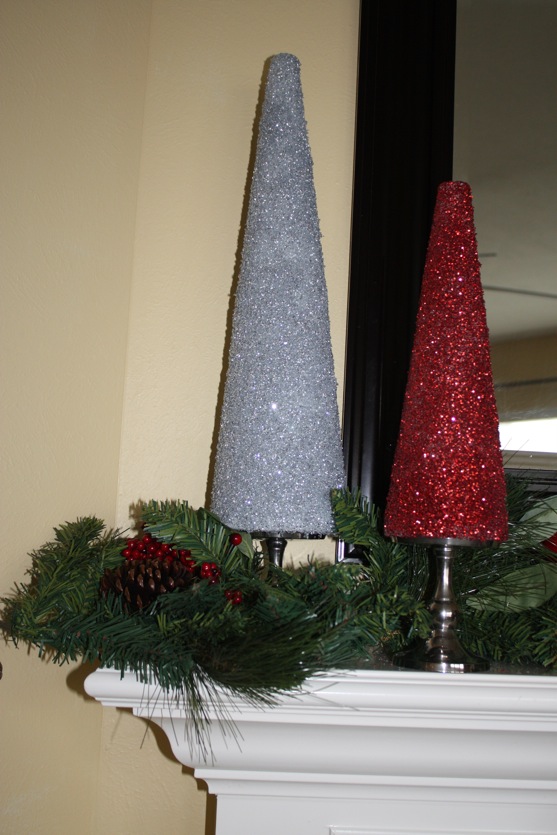
I love the sparkle that my new glitter trees bring to the mantle!! In fact, I’d love to create a whole forest of glitter trees to go all the way across the mantle. Stay tuned for several more Christmas mantle crafts I’m working on!
I’m sharing this project with…


Beautiful! I’m going to make some of these for my dining room table; thanks for the how-to. As a tweak, I’m thinking of sticking a popsicle stick/craft stick into the bottom of the cone and using it as a handle when rolling the cone in glitter. Maybe it could help me avoid glitter hands? 🙂